The Honey Experts
Since 1975, after years of experience in supplying bulk honey, GloryBee has the service, knowledge, and expertise to get you what you need when you need it – and at the price you expect.

Play
Get to Know Us
Experience you can depend upon
Consistent flavor and color profiles. Stringent quality assurance and food safety standards. Formulation assistance. GloryBee ensures your product will have the impact you are looking for.

Honey Experts
Consistent flavor and color profiles. Stringent quality assurance and food safety standards. Formulation assistance. GloryBee ensures your product will have the impact you are looking for.
Shop Now »
Ethically Sourced
We're proud of our strong connections in more than 30 countries across the globe. Our team has built a strong reputation for reliable, trustworthy, and genuine relationships that, in some cases, have continued for more than two generations.
Learn More »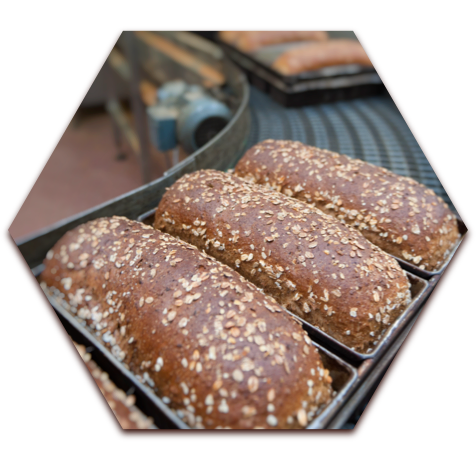
Your Partner
We carry a wide variety of bulk honey. Each variety has its own flavor and color profile as well as functionality benefits. Let us help you decide what will work based on your application and brand objectives.
Learn More »
Quality Assurance
Our best-in-class Quality Assurance teams partner with you to ensure product integrity and help with application specific formulation assistance.
Learn More »
Sustainably
In the early days, sustainability was a means to an end - it helped us save money and create efficiencies. Over time, we've learned how vital stewarding our resources for the next generation is in today's business world and we are committed to doing our part.
Learn More »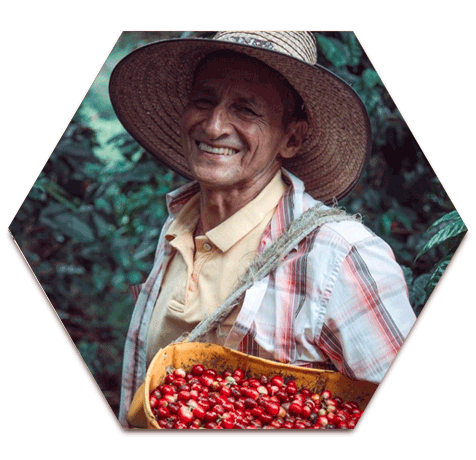
Food 4 Farmers
GloryBee has been working with Coffee Farmers in Mexico since 2011, and have begun working with the NGO Food for Farmers to seek coffee farmers with export quality honey. In this way we can support beekeepers along our supply chain.
Learn More »How we give
Giving back is a non-negotiable part of GloryBee. Since our humble beginnings nearly 50 years ago, we've prioritized giving back to our local and broader community. This tradition continues today with our support of:
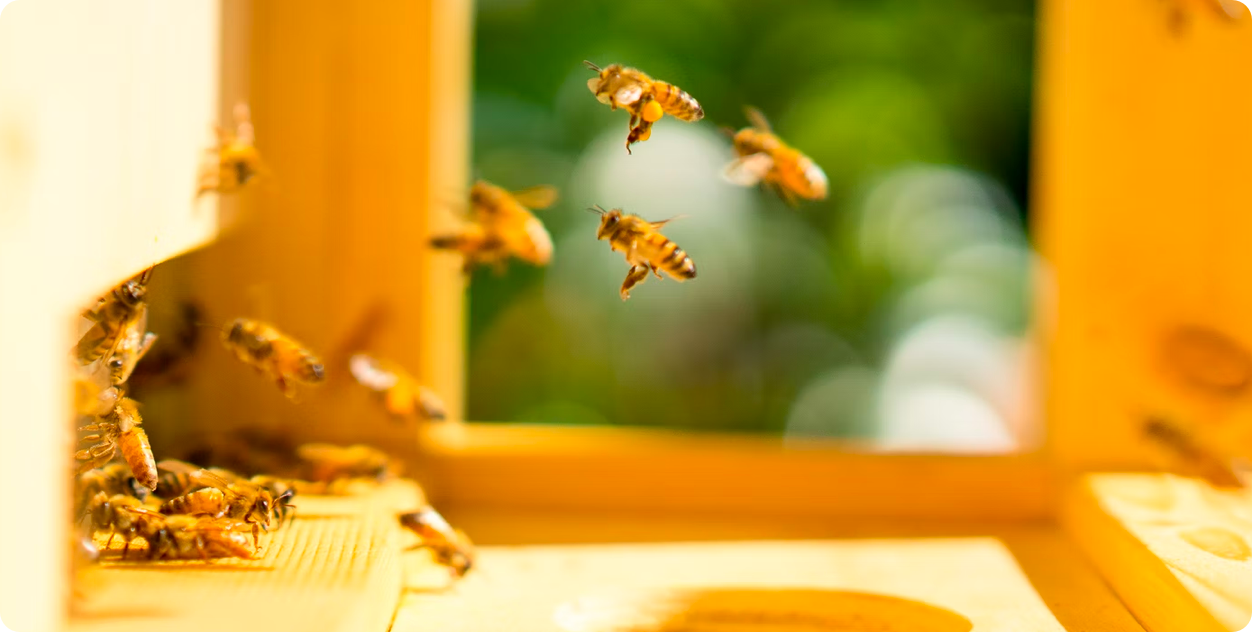
Bees pollinate 1 out of every 3 bites of food you eat. Bees are in danger. Learn what we're doing to SAVE the BEE.
Learn More
Being a Certified B Corporation means that we meet the rigorous global standards of social and environmental performance, public transparency, and legal accountability.
Learn More
We donate 100% of our profits from our Ukraine Honey to organizations providing relief work to the Ukraine people.
Learn More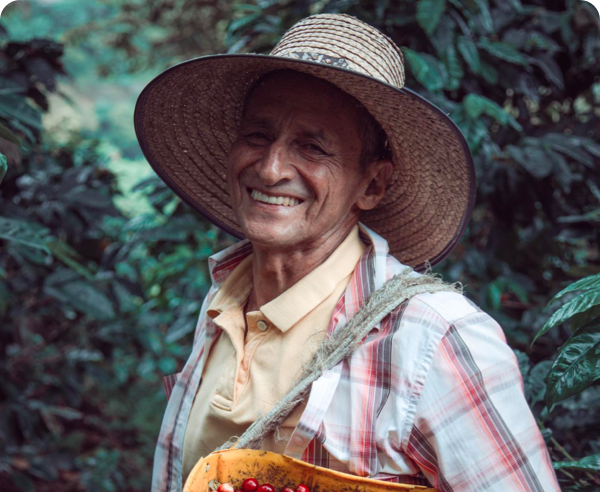
GloryBee and Food 4 Farmers help coffee farmers to diversify their income through beekeeping.
Learn MoreCertifications
We're Certified! Browse and download our numerous third party certifications that show our commitment to quality.
Locations & Logistics
With a nationwide footprint, GloryBee has the knowledge and experience to deliver what you need when you need it.
-
 Delivery
Proximity to major interstates, rail lines, and ports helps us source from around the world and deliver on time.
-
 Locations
With multiple state-of-the-art production and distribution facilities in Oregon and Ohio, GloryBee is well positioned to get you what you need quickly and efficiently.
Events & News
Events & News
Fighting Food Fraud In The Honey Industry Podcast
Alan and Julie discuss food fraud in the honey industry and how GloryBee has been fighting this long before the…
Play
![]()
I’ve seen the inside of a lot of processing facilities and GloryBee’s site is bar none the most impressive facility I’ve seen. Significant thought and intention went into this facility, from the lighting to the clean rooms, to the scope and size of the space. There’s room for everything!

- John Paul
- Sr. Consultant, Intertek Alchemy
![]()
Franz has enjoyed a sweet history with GloryBee, for nearly 30 years! We are proud to have partnered with GloryBee on our SAVE the BEE Honey Wheat Bread which launched in 2017; for each loaf of Save the Bee Bread sold, we donate a portion of the proceeds to help fund efforts to ensure a brighter future for humans and bees.

- Ken Waltos
- VP of Purchasing, Franz Bakery
![]()
GloryBee Foods has been one of our trusted suppliers of quality ingredients for nearly 50 years. Both our company and GloryBee Foods are multi-generational, family-owned and operated companies, and we have always valued the integrity in which they conduct business. Like Springfield Creamery, GloryBee cares about the environment and stewarding our resources for generations to come.
- Sheryl Kesey Thompson
- Co-owner, Springfield Creamery, makers of Nancy’s Probiotic Foods